


The theory is that opposite colours neutralise each other. You need to consult a colour wheel to figure this out. For instance, the colour diametrically opposite to red is green, so any redness on your face is cancelled out by, you guessed it, green!
For redness (like pimples) – Use green colour corrector
For dull looking skin (in olive skin tones) – Use yellow colour correctors
For dark circles – use orange or red colour correctors

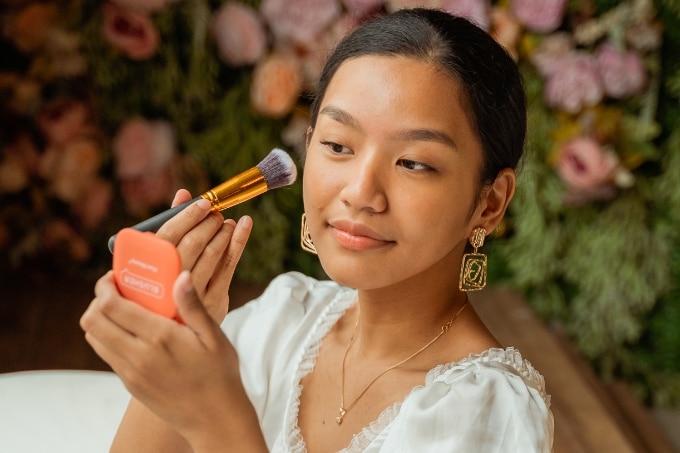
Here is a step by step guide on how to colour correct, conceal and set your makeup so your skin looks photoshopped! The following works universally on Indian skin tones, so it is safe to try!
Step 01
For dull under eye areas and dark circles, use an orange colour corrector to hide discolouration
Step 02
Follow it up with a concealer hav* yellow undertones.
Step 03
Use a damp makeup sponge to blend well, making sure there are no telling lines between the products.
Step 04
Apply foundation along the central line of your face, and blend outwards towards your hairline. This is because you need maximum brightness and coverage along the centre and not so much towards the sides. Blend well!
Step 05
Use a concealer that is slightly darker than your skin tone to contour below your cheekbones, around your hairline and along the sides of your nose. Blend well!
Step 06
Use a concealer that is slightly lighter than your skin tone to brighten the areas that catch light, like the bridge of your nose, your chin and a little bit under the brow bone and blend!
Image courtesy: Pinterest


 Privacy Notice
Written by Harshitha Prabhakar on 7th May 2019