


If you love experimenting with makeup, you know eye makeup is the most crucial part of any look. But with so many products and techniques out there, it can be overwhelming to figure out where to start, right? That's why we’ve put together this comprehensive eye makeup step by step tutorial to help you create stunning eye looks for any occasion. We've got you covered, from the essential tools to the latest trends. So, whether you're a makeup beginner or a pro, get ready to elevate your eye makeup game and be the envy of all your friends!
Ultimate Guide to Eye Makeup: Step-by-Step Tutorial
Eye makeup is an essential part of any makeup look. It enhances the features of your eyes and complements your overall makeup look. Before we dive into the eye makeup steps, let's look at the basic tools you will need to get started.
Introduction to Eye Makeup
To create stunning eye makeup looks, you will need the following essential tools:
-
Eyeshadow palette - A palette with a variety of colours to choose from
-
Eyeshadow brushes - A set of brushes to apply and blend eyeshadow
-
Eyeliner - Pencil, gel, or liquid eyeliner to define your eyes
-
Mascara - To enhance the lashes
-
Eyebrow products - Pencils, pomades, or gels to fill in and shape the eyebrows
-
Eye primer - To keep the eyeshadow in place and prevent creasing
-
Highlighter - To brighten the eyes and add a glow to the skin
Step 1: Preparing Your Eyes
Preparing your eyes is one of the basic makeup steps in creating any eye makeup look.
-
Start by applying eye primer on your eyelids. This will ensure that your makeup lasts longer and prevents creasing.
-
Apply a small amount of primer to your eyelids and blend it in with your fingers.
-
Using an eye primer has multiple benefits. It prevents creasing, enhances the colour of the eyeshadow, and provides a smooth base for the eyeshadow to adhere to.
Step 2: Applying Eyeshadow

Eyeshadow is the most fun part of any eye makeup look. Here's how to apply it correctly:
-
Start by applying a base eyeshadow across your eyelid.
-
Use a flat eyeshadow brush to apply the colour evenly.
-
Choose a neutral shade that complements your skin tone.
-
Blending the eyeshadow colours is essential to creating a seamless look.
-
Use a fluffy blending brush to do this.
The Lakmē Absolute Explore Eye Shadow Stick - Subtle Pink is the perfect shade to apply acorss your eyelids. It comes with a smooth, luxe texture that makes it super light and comfortable to wear. It glides so easily and effortlessly, making it easy for you to apply and blend the eyeshadow.
Step 3: Defining the Crease
Defining the crease adds depth to your eyes and makes them look more prominent.
-
Using a small blending brush, apply a darker shade of eyeshadow to the crease of your eye.
-
Blend it in using circular motions to create a smooth transition.
-
Select a shade that complements your eye colour.
-
Warm shades like copper and bronze work well for brown eyes, while cool shades like grey and silver work best for blue eyes.
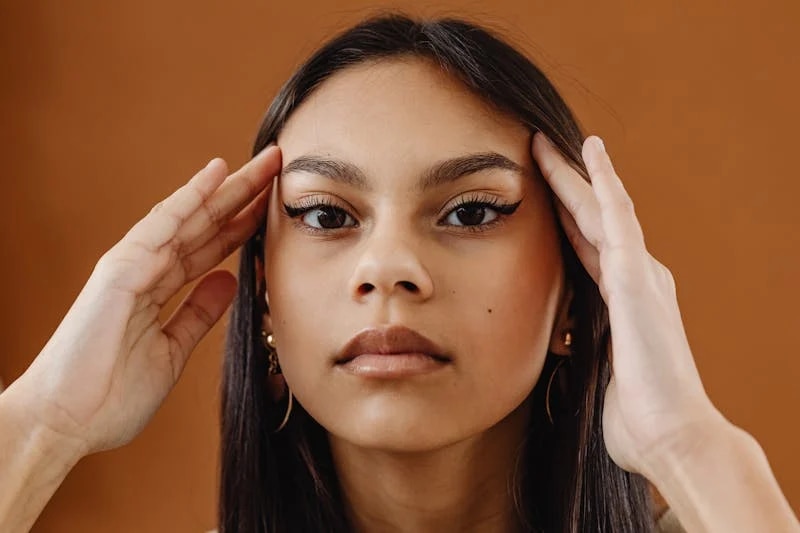
Step 4: Eyeliner Perfection

Eyeliner defines your eyes and adds drama to your look.
-
Using a pencil, gel, or liquid eyeliner, draw a line as close to your lash line as possible.
-
Start from the inner corner and work your way outwards.
-
For a winged eyeliner look, draw a flick at the end of the line.
Different eyeliner styles, such as winged and cat-eye, look great on different eye shapes. Experiment with different styles to find what works best for you.
Use the Lakmē Eyeconic Pro Brush Liner that comes with a precise pro brush tip. Its steady grip, easy-glide application and an intense colour pay-off ensures easy application. It is also flake proof for up to 36 hours and gives you that perfect matte finish.
Step 5: Highlighting Your Eyes
Highlighting your eyes adds a glow to your skin and brightens up your eyes.
-
Apply a highlighter to the brow bone and the inner corners of your eyes. This will make your eyes look brighter and more awake.
-
Choose a highlighter that complements your skin tone. For fair skin, champagne shades work well. For deeper skin tones, go for a gold or bronze highlighter.
Step 6: Luscious Lashes

Mascara enhances your lashes and makes your eyes look bigger and is one of the most essential eye makeup steps.
-
Use a mascara wand to apply the mascara to your upper and lower lashes.
-
Start from the root and wiggle the wand towards the tips.
-
Apply multiple coats for a more dramatic effect.
Different types of mascara, such as volumising and lengthening mascara, provide different benefits. Choose the one that works best for you.
Try out the Lakmē Lash Boost Extreme Mascara which comes with curling and lengthening benefits. It features an innovative formula has 91% natural ingredients, including the plant of resurrection which is known to boost lash growth. The formula is also waterproof, ensuring your lashes stay stunning for hours.
Step 7: Eyebrow Framing
Defined eyebrows frame your eyes and complete your look.
-
Fill in your eyebrows using an eyebrow pencil, pomade, or gel to create a defined shape.
-
Follow the natural shape of your eyebrows and fill in any gaps.
-
Choose an eyebrow product that matches your eyebrow colour.
-
For a natural look, use a pencil. For a more defined look, use a pomade or gel.
Step 8: Final Touches
Adding final touches to these simple makeup steps will ensure that your makeup stays in place and looks perfect.
-
Use a setting spray or powder to set your makeup in place. This will ensure that your makeup lasts longer.
-
Double-check your makeup and make any necessary fixes.
-
Use a cotton swab to clean up any smudges or mistakes.
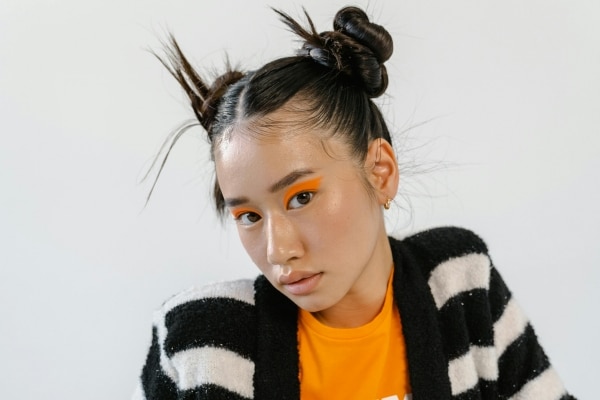
Advanced Techniques

Smokey eyes and glitter and colour are two advanced eye makeup techniques that you can try.
-
To create a smokey effect, use a darker shade of eyeshadow.
-
Apply the eyeshadow to the outer corners of your eyes and blend it inwards.
-
Use a glitter eyeshadow or colourful eyeshadow to create a dramatic effect.
-
Apply the eyeshadow to the centre of your eyelid and blend it outwards.
Cleanup and Skincare
Proper removal of eye makeup and a skincare routine is essential to maintain healthy skin.
-
Use a gentle makeup remover to remove your eye makeup.
-
Gently wipe the makeup off in a circular motion.
-
After removing your makeup, apply an eye cream to hydrate and nourish the delicate skin around your eyes. Follow it up with a moisturiser to keep your skin hydrated and nourished.
With this step-by-step tutorial, you can create stunning eye makeup looks that will leave everyone awestruck. Remember to have fun and experiment with different shades and techniques to find what works best for you. With practice, you will master the art of eye makeup with these makeup steps and be able to create any look you desire.
FAQs about Eye Makeup Steps
Q1 What are the benefits of using an eye primer?
A: Using an eye primer has multiple benefits. It prevents creasing, enhances the colour of the eyeshadow, and provides a smooth base for the eyeshadow to adhere to.
Q2 How do I choose the right shade of eyeshadow?
A: When choosing eyeshadow, consider your eye colour. Warm shades like copper and bronze work well for brown eyes, while cool shades like grey and silver work best for blue eyes.
Q3 How can I make my eyes look bigger with makeup?
A: To make your eyes look bigger with makeup, focus on defining your crease, using white or nude eyeliner on your waterline, and applying mascara to your bottom lashes.


 Privacy Notice
Written by Kinnari Ashar on 10th May 2024